Working with notebooks
Juno lets you work on Jupyter notebooks with much more than just a code editor: it creates an entire notebook workspace, where everything you may need is within easy reach. It provides a powerful and customizable notebook editor designed for iPad and iPhone, allowing you to seamlessly navigate, view, and edit files in the working directory without leaving your notebook.
Learn more about navigating the working directory from the notebook workspace here: Working directory browser.
Quick links
Cell menu
Floating action buttons
Keyboard shortcuts
Keyboard toolbar
Customizable toolbar
Cell templates
Output media viewer
Overview

Juno offers a familiar experience of working with Jupyter notebooks in a first-class citizen app for iOS and iPadOS. It follows the same conventions as desktop JupyterLab and Jupyter Notebook applications: notebook documents can have Code cells, where you write Python code with the execution output appended below; and Markup Text cells, where you can add Markdown text, HTML or LaTeX equations. Selected cell has a gray vertical bar on the left, which changes to blue while you are editing cell contents. Each markup cell either appears rendered, with final formatting applied, or as markup source (unrendered). You can render a markup cell by executing it just as you would a code cell (or selecting Render Markup in the  menu), and you can view its markup source by double-tapping it (or selecting Show Source in the menu).
Cell menu
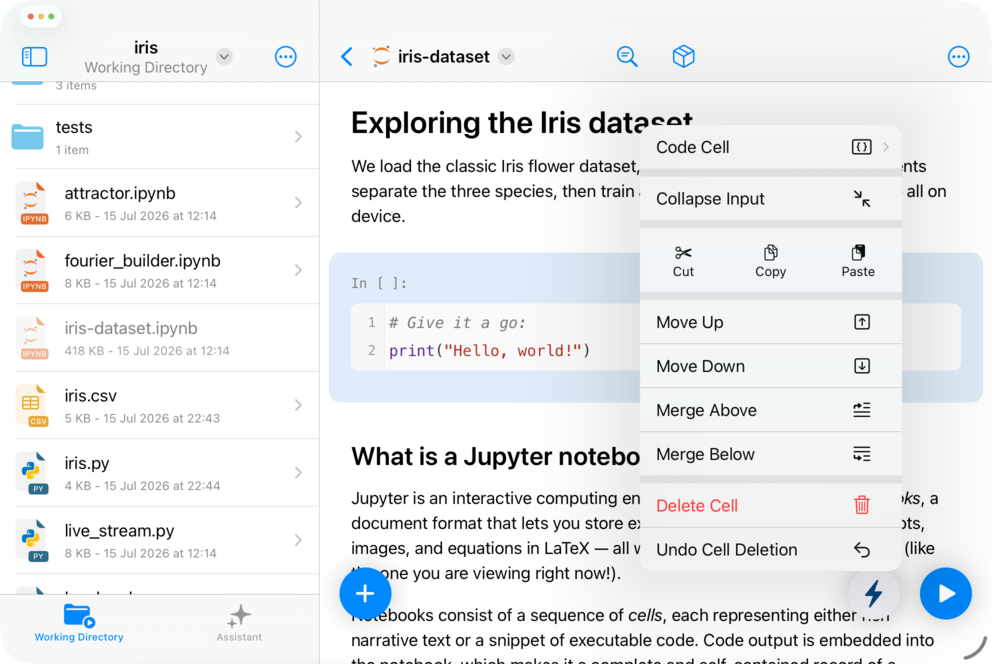
You can access the cell menu either from a floating action button, or from a button on the toolbar. It lets you manipulate the selected cell: you can change the cell type, cut/copy/paste or move the cell within the notebook, manipulate code cell output and perform other actions.
Floating action buttons
The notebook editor displays floating action buttons at the bottom, for easier access to certain actions. You can configure or disable the buttons you don’t need in Settings behind the editor’s  overflow menu.
 Run button executes the selected cell. Long press the button to change its run action—for example, to run all cells in the notebook instead.
 Cell Menu button shows actions for manipulating the selected cell.
 Add Cell button inserts an empty code cell below the selected one; long press to choose another cell type.
![]() Scroll to Cell button only appears when the selected cell is scrolled off screen; it brings the selected cell back into view.
Scroll to Cell button only appears when the selected cell is scrolled off screen; it brings the selected cell back into view.
Keyboard shortcuts
Juno works great with all hardware keyboards, offering key shortcuts for all cell and notebook actions. Hold the ⌘ Command key on your hardware keyboard to see all shortcuts available in the notebook editor.
Keyboard toolbar
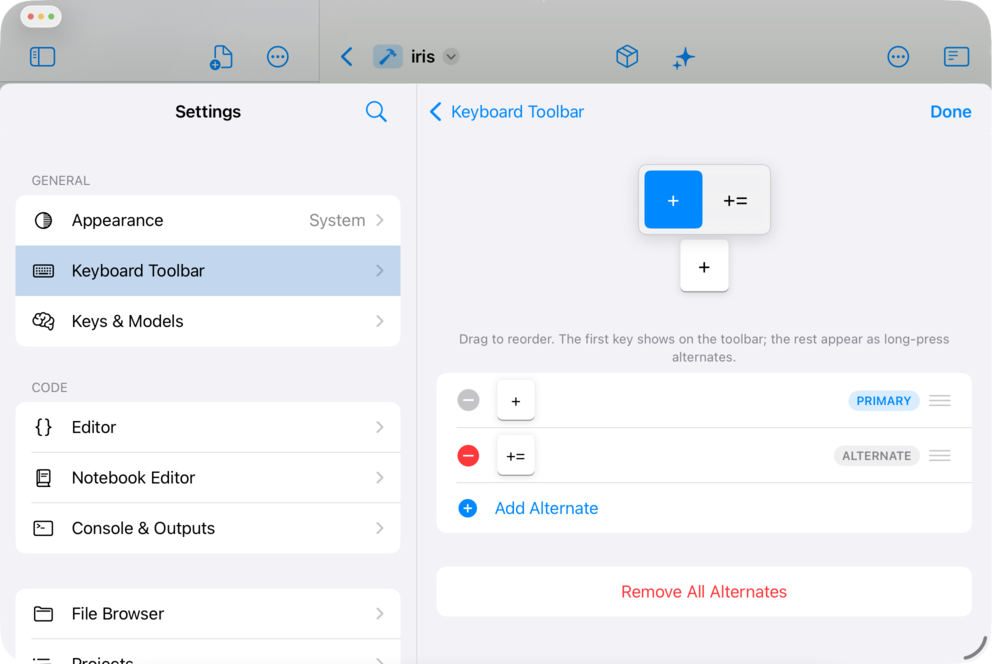
Juno adds a fully customizable row of keys above the system keyboard. Open Keyboard Toolbar in Settings to add, remove or reorder keys, and configure long-press alternatives.
Customizable toolbar
The notebook editor offers a customizable toolbar, where you can rearrange, add or remove items by selecting Customize Toolbar in the editor’s overflow menu. For example, you could add less frequently used run actions there, or disable the floating action buttons, and add buttons with the same actions in the toolbar instead.
Cell templates
Juno’s notebook editor lets you save a cell with its content as a reusable cell template, which you can then quickly insert in any notebook. Select Cell Templates in the overflow menu, or the  icon on the toolbar to select, edit, and save new cell templates.
Output media viewer
Select any image in the code cell output area to open it in an expanded media viewer, where you can zoom, pan, annotate, and share images. The media viewer is powered by the system’s Quick Look and is perfect for plots, graphs, and other code-generated media.